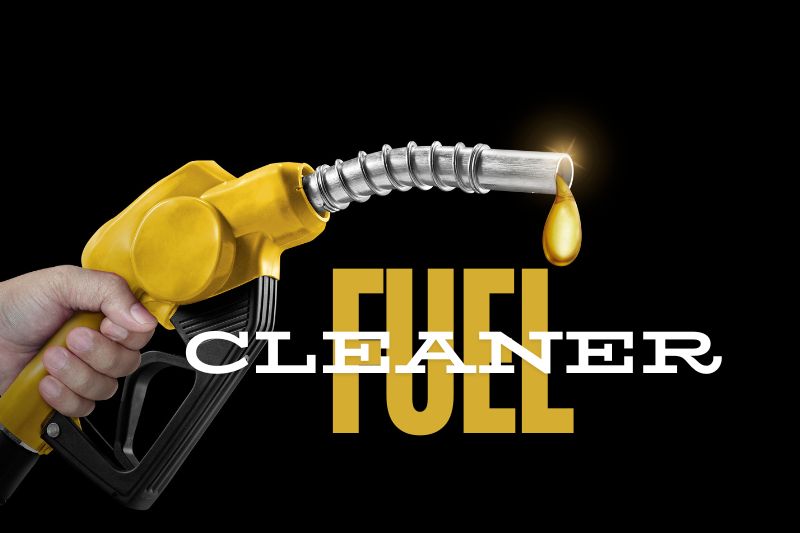
Imagine you’re cruising down the highway, enjoying the smooth ride of your car. Suddenly, you notice a drop in performance, and your once efficient vehicle starts guzzling fuel like there’s no tomorrow. Sounds frustrating, right? This is where fuel injector cleaners come to the rescue.
These magic solutions help maintain your car’s engine efficiency by cleaning the fuel injectors, ensuring optimal fuel delivery and combustion.
Why Use a Fuel Injector Cleaner?
Fuel injectors are small, but they play a crucial role in your engine’s performance. Over time, they can get clogged with dirt, carbon deposits, and other impurities, leading to several issues. Reduced fuel efficiency, engine performance issues, and increased emissions are common problems associated with dirty fuel injectors.
Using a fuel injector cleaner can help mitigate these problems, making your car run smoother and more efficiently.
Step 1: Choose the Right Fuel Injector Cleaner
The market is flooded with various fuel injector cleaners, each claiming to be the best. To choose the right one for your vehicle, check compatibility with your car’s fuel system. Most cleaners work with gasoline engines, but some are specifically designed for diesel engines.
Step 2: Determine the Right Time to Use It
Using a fuel injector cleaner at the right time is crucial for maximum effectiveness. Poor fuel economy, engine misfires, and increased emissions are indicators that your car might need a fuel injector cleaner.
It’s generally recommended to use a fuel injector cleaner every 3,000 to 5,000 miles, but this can vary depending on your driving habits and the type of fuel you use.
Step 3: Prepare Your Vehicle
Before using a fuel injector cleaner, make sure your car is ready for the treatment. Check the fuel level; most fuel injector cleaners work best with a nearly empty tank, ensuring thorough mixing with the remaining fuel.
Read the instructions on the cleaner for specific usage guidelines, and gather supplies like the fuel injector cleaner, a funnel (if necessary), and possibly some gloves to protect your hands.
Step 4: Add the Fuel Injector Cleaner
Now that your car is ready, it’s time to add the fuel injector cleaner.
- Open the fuel tank by unscrewing the fuel cap.
- Using a funnel if needed, pour the recommended amount of fuel injector cleaner into the tank.
Step 5: Drive Your Car
After adding the fuel injector cleaner, take your car for a drive. You don’t need to drive aggressively or at high speeds; normal driving conditions are sufficient to circulate the cleaner through the fuel system. If possible, take your car on a longer drive to allow the cleaner more time to work.
Pay attention to any improvements in your car’s performance, such as smoother idling, better acceleration, and improved fuel economy.
Step 6: Repeat as Needed
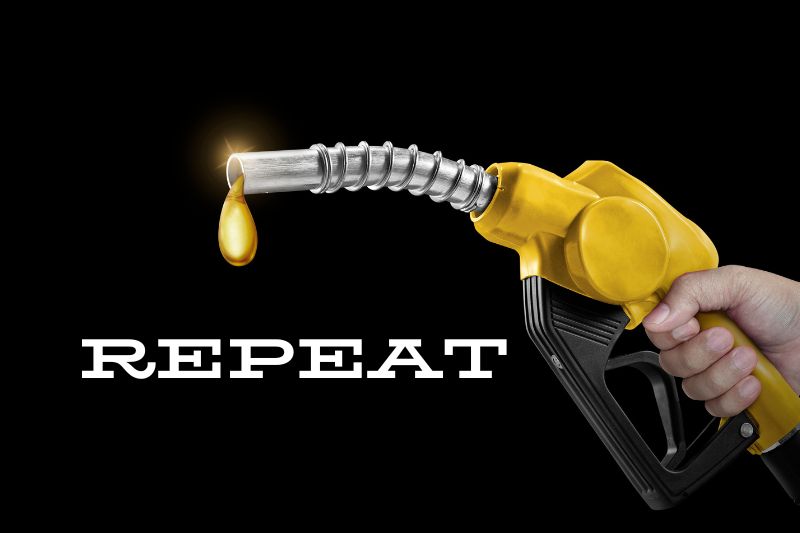
Using a fuel injector cleaner is not a one-time fix. For ongoing maintenance, incorporate it into your regular car care routine. It’s recommended to use a fuel injector cleaner every 3,000 to 5,000 miles to keep your injectors clean.
In Summary
Maintaining your car’s fuel injectors with a cleaner is a simple yet effective way to ensure optimal engine performance and fuel efficiency.
By following this step-by-step guide, you can easily incorporate this task into your regular car maintenance routine. Your car will thank you with smoother rides, better fuel economy, and fewer emissions.